How to use Supabase with Astro. A practical guide for developers trying Astro.

How to create a Table in Supabase:
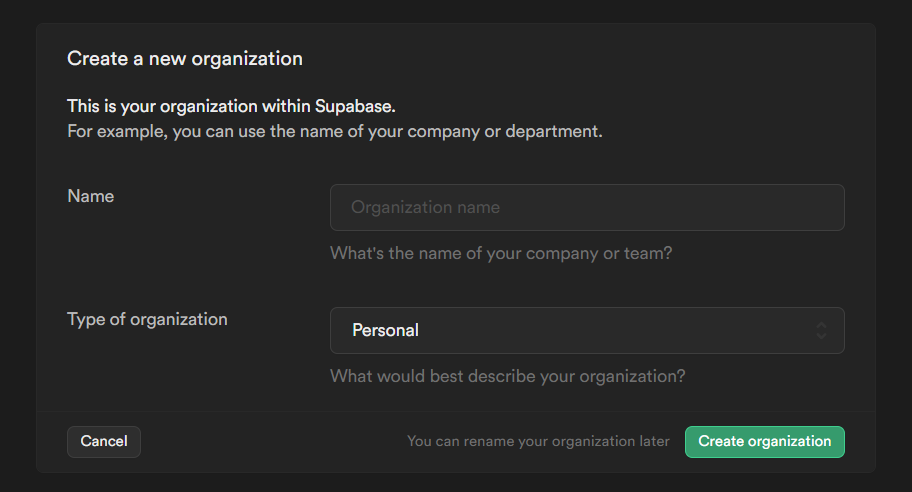
- After creating an account create an org in Supabase.
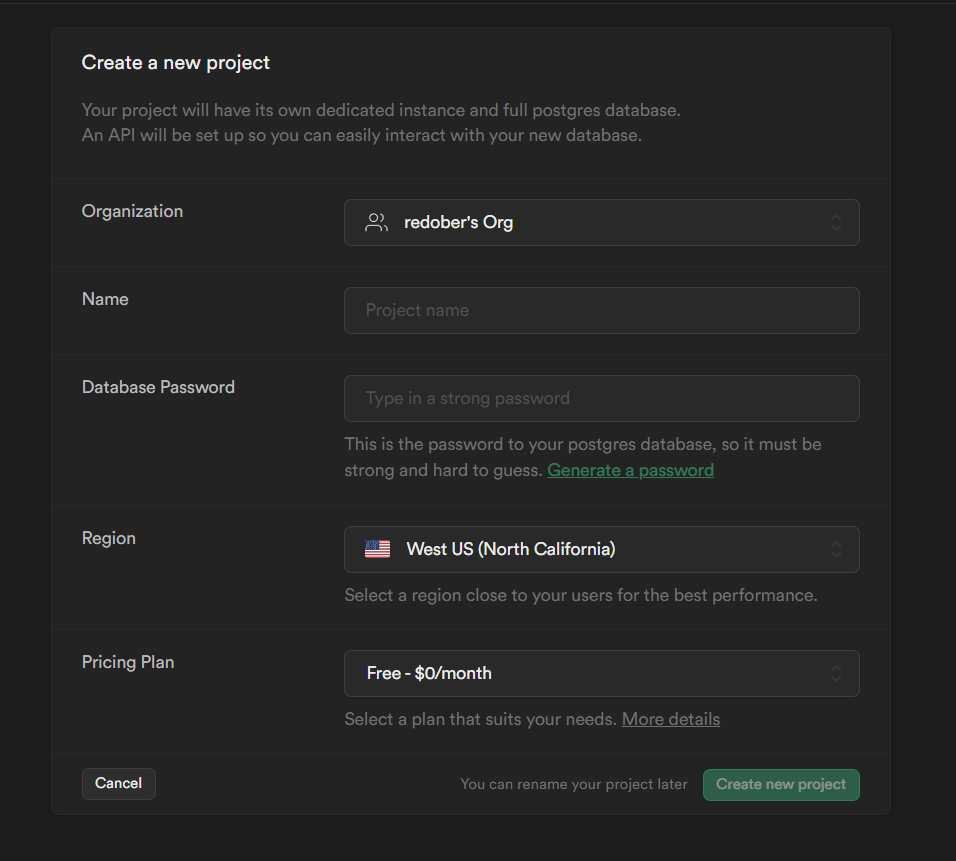
- Then create new project in supabase
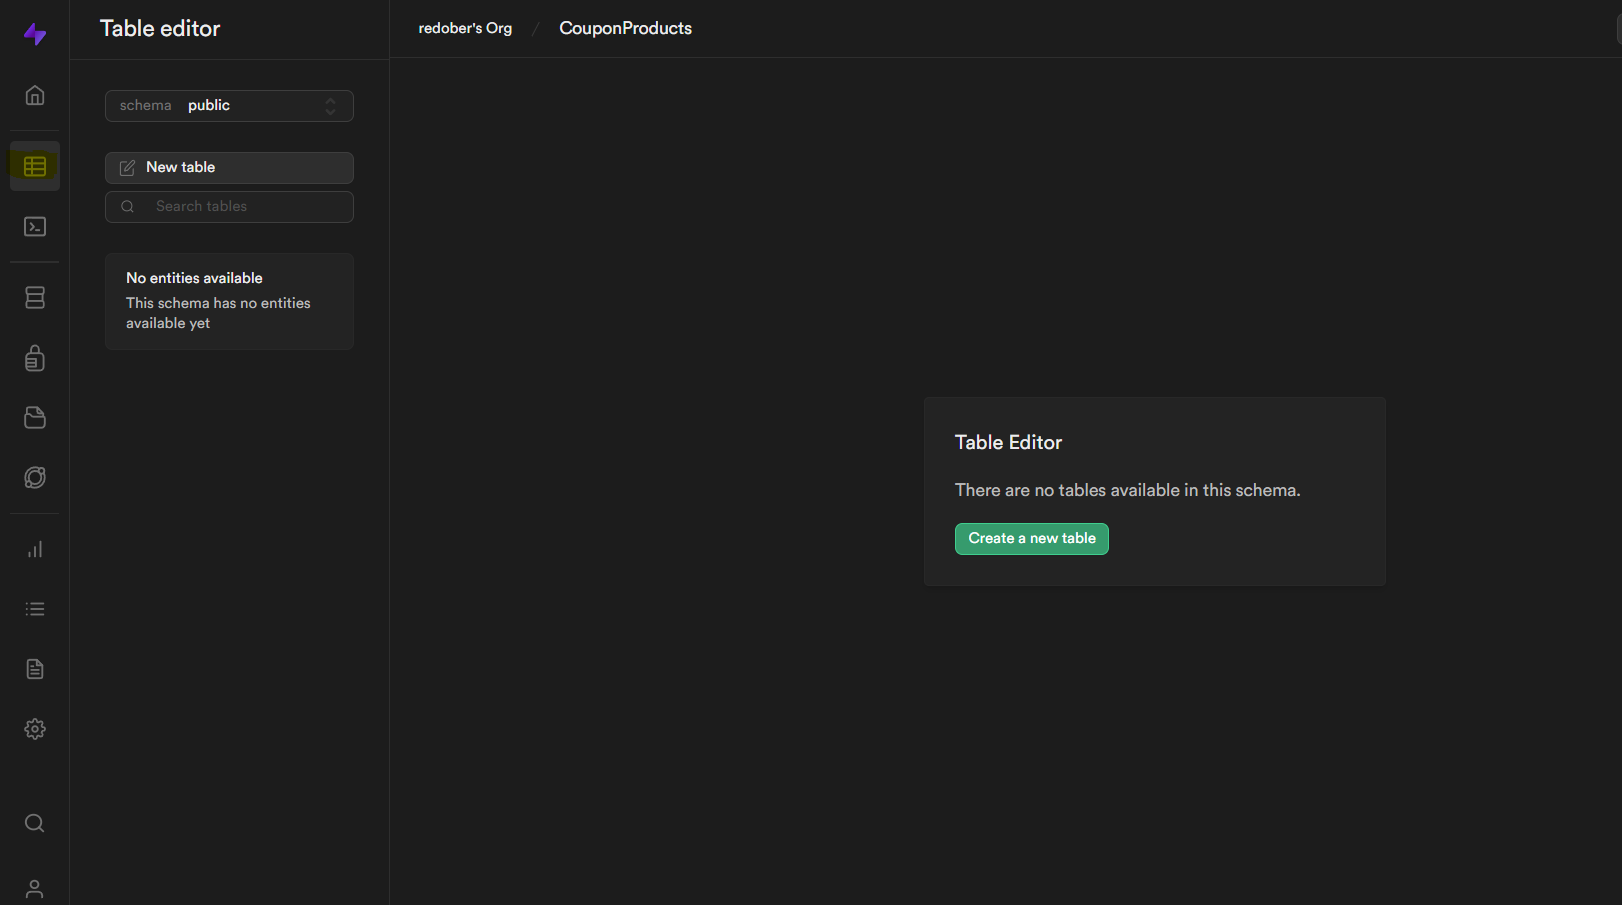
- Inside the project create a new table.
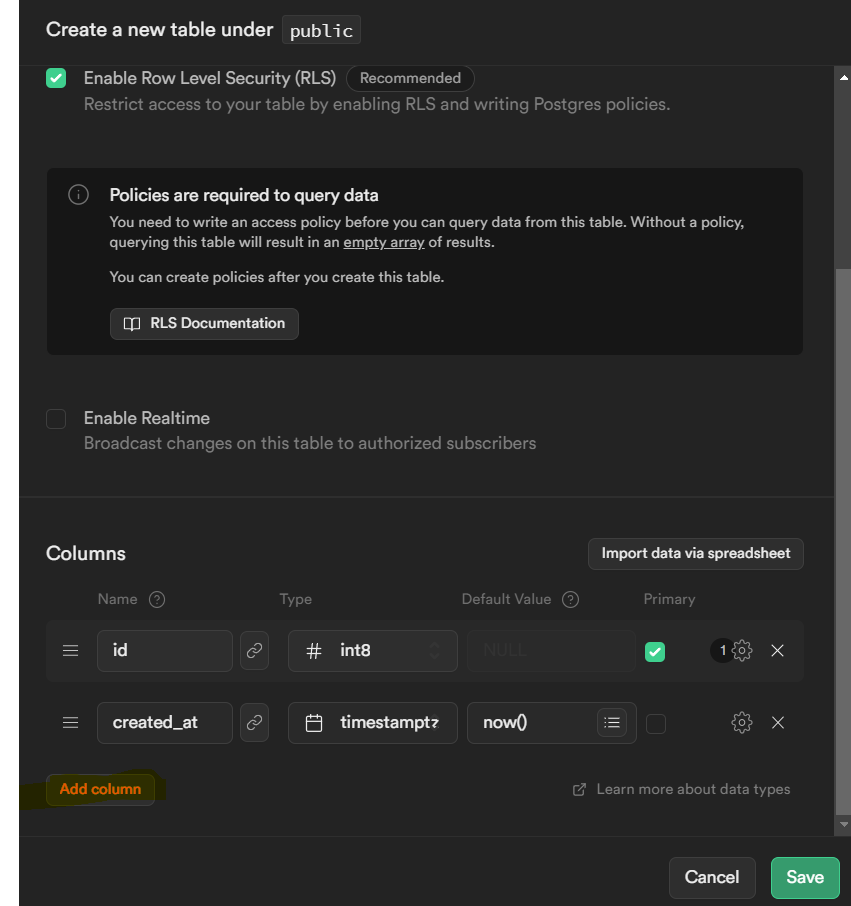
- Add or Modify the column in the table
How to use Supabase in your Astro project:
- Add Supabase dependency in you project.
npm install @supabase/supabase-js
- Initialize supabase client in your project(Astro)
import { createClient } from "@supabase/supabase-js";

// Create a single supabase client for interacting with your database
const supabase = createClient("https://xyzcompany.supabase.co", "public-anon-key");- Get url and public anon key from supabase dashboard:

Update url and anon key in your project.
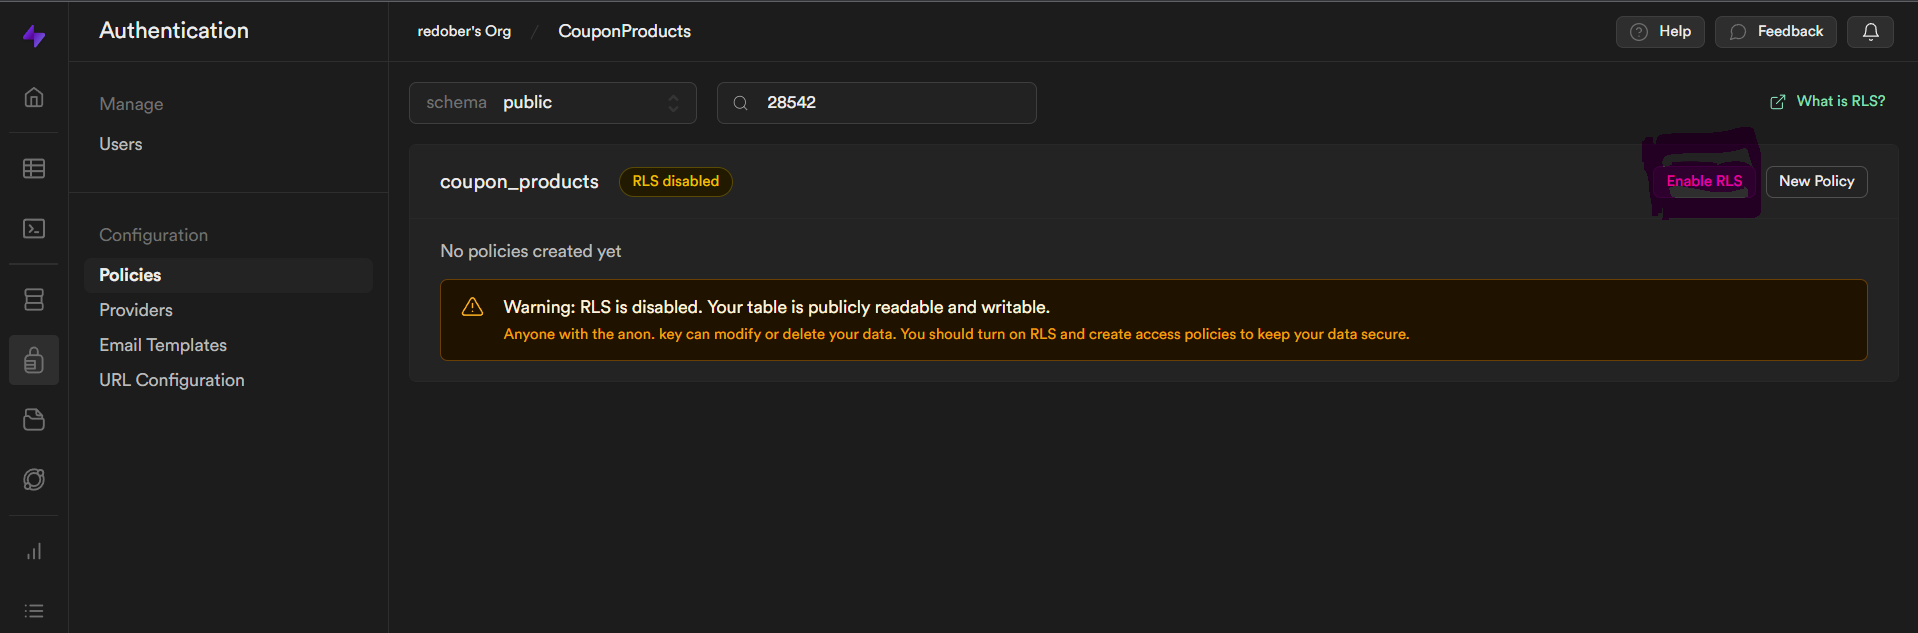
- Now we need to disable RLS for the table for the POC(testing/learning) in the dev environment only(don’t do it in production) . For that click on ‘No active RLS policies’ under Table editor.

- Disable RLS:
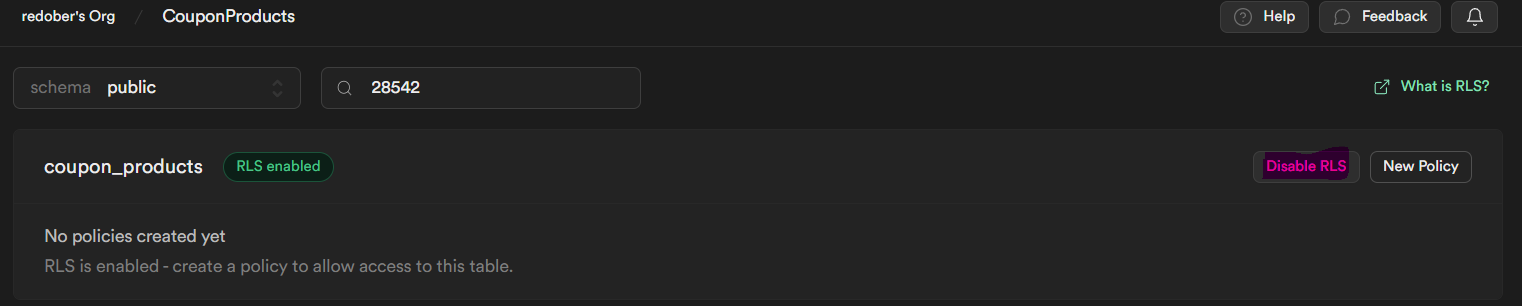
- Insert data in the table:
const { data, error } = await supabase
	.from("coupon_products")
	.insert({
		asin: "B0BQC4Y4TP",
		productTitle:
			"Samsung 653 L Frost Free Convertible 5In1, Digital Inverter Wi-Fi Enabled Side by Side Refrigerator (RS76CG8003S9HL, Refined Inox 2023 Model)",
	})
	.select();
Above code is for table ‘coupon_products’ which has two columns which are not Nullable.
- asin
- productTitle
Now run the above code and data will get populated in the table:

To Fetch data from Supabase:
const { data, error } = await supabase.from("coupon_products").select().limit(2);You can remove limit(); to get max results up to 1,000 rows.
- You can also use typescript like:
import { createClient } from "@supabase/supabase-js";

// Create a single supabase client for interacting with your database
const supabase = createClient < Database > ("https://xyzcompany.supabase.co", "public-anon-key");
interface Database {
public: {
Tables: {
coupon_products: {
Row: {
// the data expected from .select()string
asin: string,
productTitle: string,
},
Insert: {
// the data to be passed to .insert()
asin: string, // `not null` columns with no default must be supplied
productTitle: string,
},
Update: {
// the data to be passed to .update()
asin?: string, // `not null` columns are optional on .update()
productTitle?: string,
},
},
},
};
}For database table defined as:
create table
  public.coupon_products (
    created_at timestamp with time zone not null default now(),
    asin text not null,
    productTitle text not null,
    constraint coupon_products_pkey primary key (asin)
  ) tablespace pg_default;
Auth in Supabase:
- We can register user in Supabase through email:
const { data, error } = await supabase.auth.signUp({
	email: "example@email.com",
	password: "example-password",
});- And login user after email has been confirmed by the user:
const { data, error } = await supabase.auth.signInWithPassword({
	email: "example@email.com",
	password: "example-password",
});
RLS and Policy in Supabase:
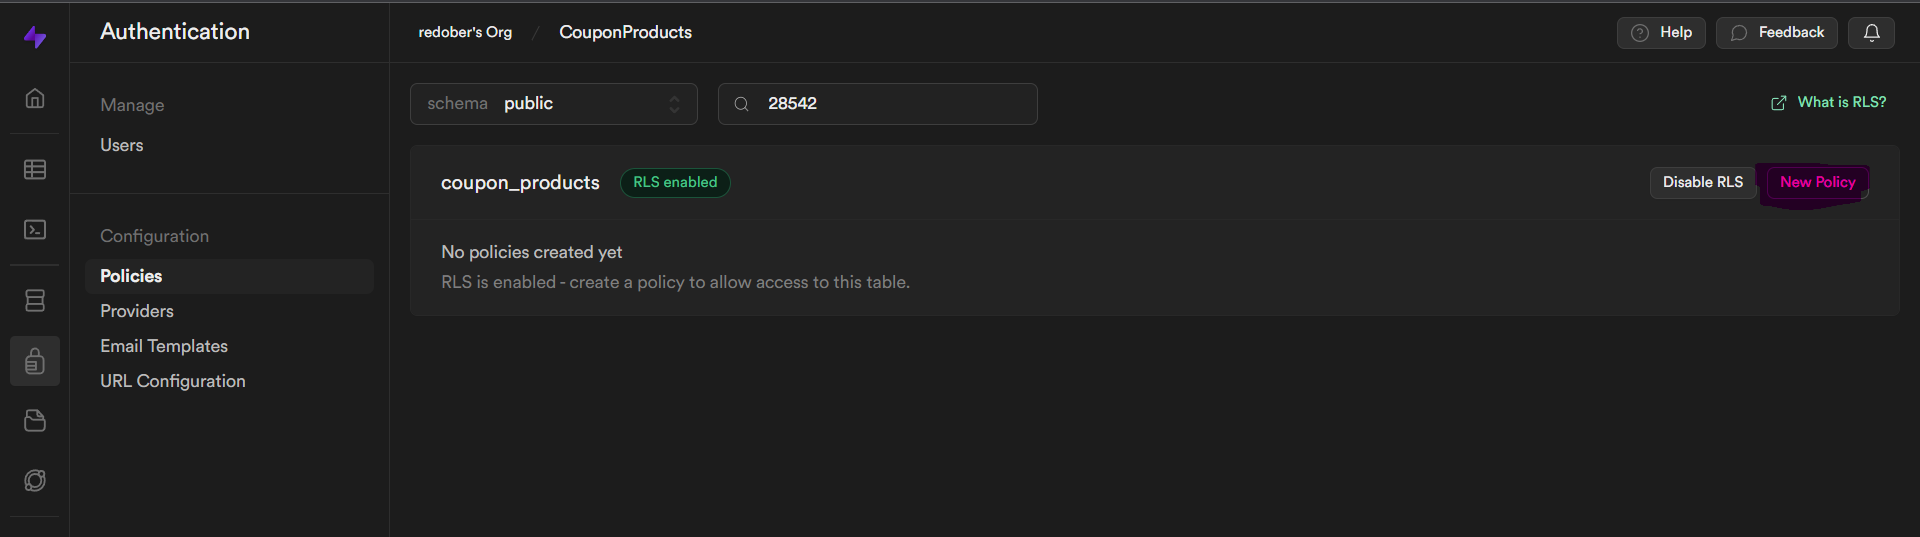
- We can Enable RLS:
- Click on New Policy:
- Select Get started quickly:
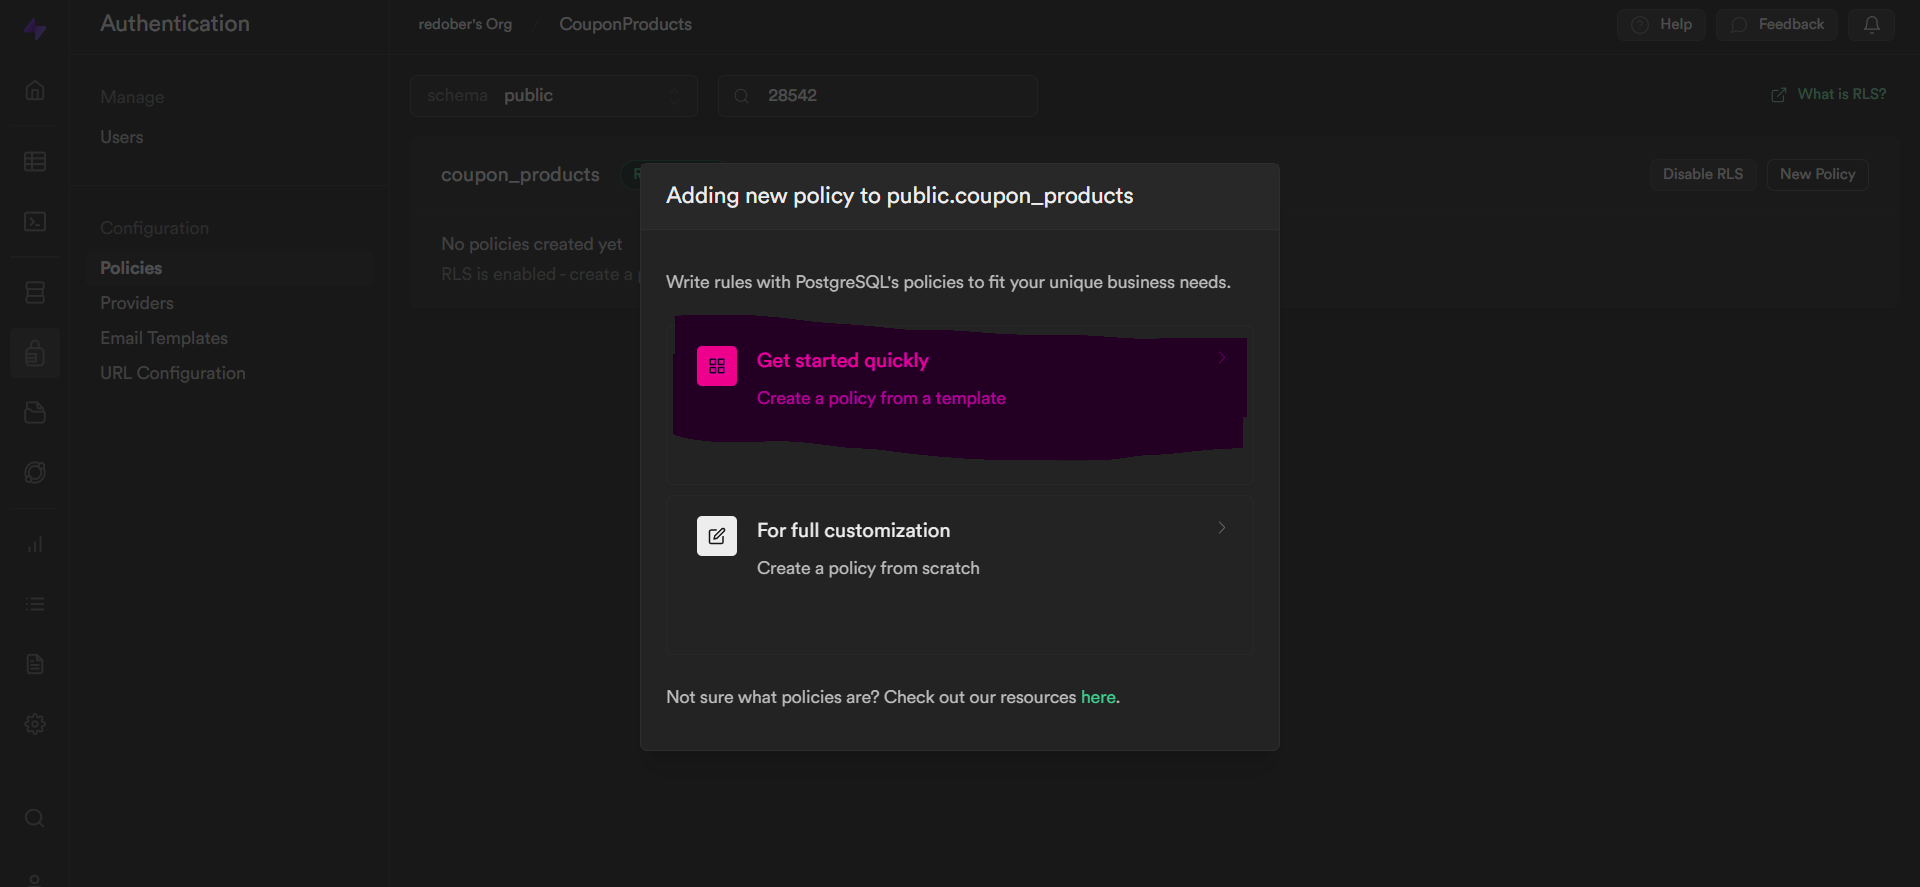
- Select policy according to the need:
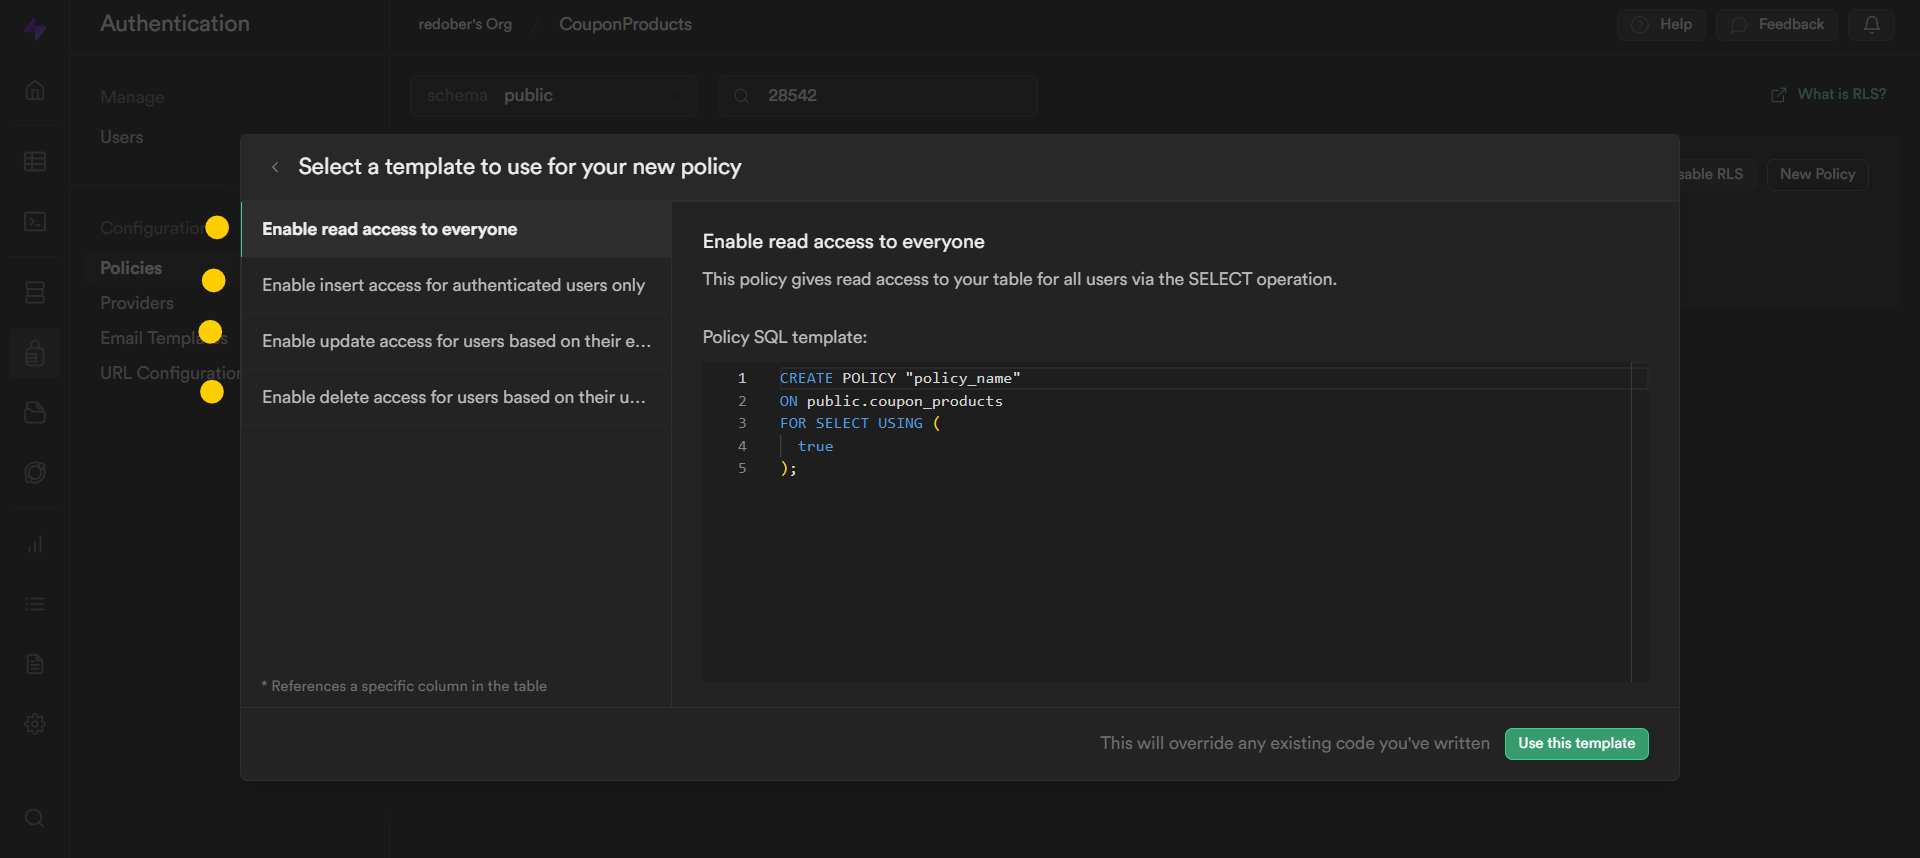 And we can add multiple policies in RLS.